Think of a nail file. You probably picture a flimsy, orange cardboard stick, the kind you get in a cheap manicure set. You use it a few times until it’s worn smooth, then toss it without a second thought. But what if we told you that this humble tool is the unsung hero of a perfect manicure? The right nail file can mean the difference between a polish job that chips in a day and one that lasts for weeks, between strong, resilient nails and ones that split and peel.
The world of nail files is vast and surprisingly technical. Choosing the right one isn’t just about grit; it’s about understanding the science and art of nail care. Let’s file away the confusion and get to the point.
The Gritty Details: Understanding Abrasiveness
The most important characteristic of a nail file is its grit, which refers to the coarseness of the abrasive material on its surface. Grit is usually measured numerically: the lower the number, the coarser the file.
Coarse Grit (80-100): The heavy lifter. Use this for quickly shortening very long, thick nails or acrylics. Warning: Too aggressive for natural nails and can cause micro-tears that lead to weakening.
Medium Grit (150-180): The all-rounder. Ideal for shaping natural nails after they’ve been clipped to your desired length. It’s effective yet gentle enough for most people.
Fine Grit (240+): The finisher. This is for smoothing the nail edge after shaping, creating a perfectly sealed surface that helps polish adhere better. It’s also excellent for buffing out minor ridges.
A Material World: Types of Nail Files
The material a file is made from determines its feel, effectiveness, and how it interacts with your nail.
Emery Boards (Cardboard/Natural Abrasive):
The Classic: The familiar, often colorful, stick. They are inexpensive, disposable, and readily available.
Best For: Occasional use or travel. Their grit wears out quickly, and the abrasive can be harsh on delicate nails.
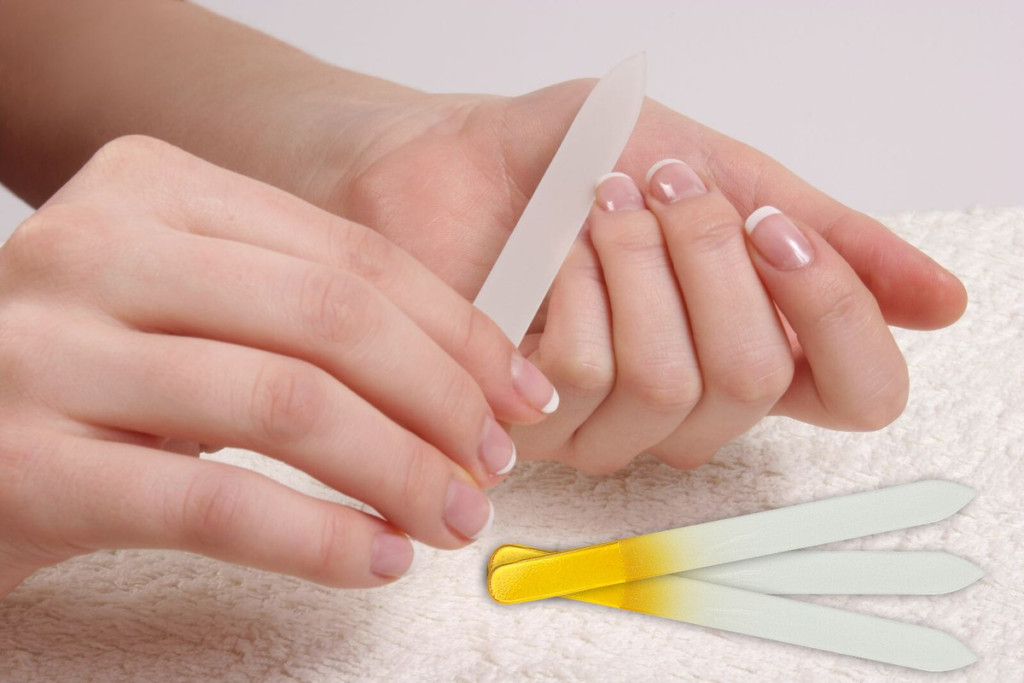
Glass/Crystal Files:
The Cult Favorite: Made from tempered glass with a micro-abrasive surface. They are known for sealing the keratin layers at the edge of the nail as they file.
Why People Love Them: They create a ultra-smooth edge that prevents chipping and peeling. They are gentle, durable, easy to clean (just rinse with water), and last for years. They work on both natural nails and hard gels.
Metal Files:
The Heavy-Duty Option: Made of stainless steel with sharp, serrated edges.
Best For: Filing down very thick acrylics or hard gel extensions. Avoid using these on natural nails. Their aggressive teeth can shred and weaken the nail plate, causing more harm than good.
Ceramic Files:
The Elegant Alternative: Similar to glass files but made from ceramic. They offer a very fine, smooth filing experience and are also long-lasting and easy to clean.
Buffing Blocks:
The Polisher: These multi-sided blocks have varying grits on each side, designed to smooth the nail surface, create shine, and blend ridges. They are essential for a pre-polish prep that ensures a flawless application.
The Right Technique: It’s Not Just Sawing Back and Forth!
Your filing technique is just as important as the tool you use.
The Golden Rule: Always file in one direction. The classic back-and-forth sawing motion creates friction and heat, which can weaken the nail structure and lead to splitting. Instead, use long, confident strokes from the side of the nail towards the center.
Shape Gently: Decide on your shape (oval, square, almond) before you start and file towards that goal. Go slowly—you can always file more off, but you can’t put it back on!
Finish with a Smooth Edge: After shaping with your medium-grit file, always go over the edge with a fine-grit or glass file to seal it. This is the secret step for manicure longevity.
Which File is Right For You?
For Weak, Peeling Nails: A fine-grit glass or ceramic file is your best friend. Its sealing action helps protect the nail edge.
For At-Home Manicures: Invest in a good-quality medium-grit file (like a 180 grit emery board or glass file) for shaping and a buffer block for pre-polish prep.
For Acrylics & Hard Gels: You’ll need a coarse file (80-100 grit) for major shaping and reduction. A medium-grit file is used for refining the shape before polishing.
The Final Buff
Your nail file is not a disposable afterthought; it’s a foundational tool for healthy, beautiful nails. By understanding grit, material, and technique, you can elevate your nail care routine from basic maintenance to an act of self-care that delivers professional-level results. Ditch the sawing motion, invest in a file that loves your nails back, and get ready to flaunt your strongest, most polished mani yet.

